
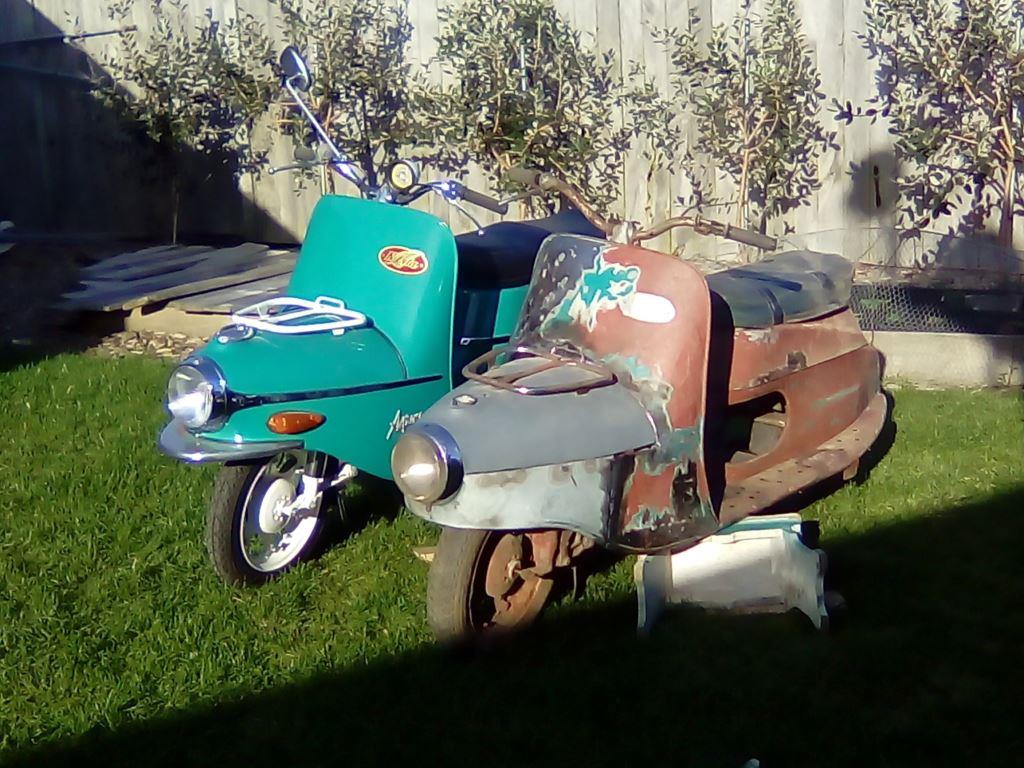
J-Zeta Blair update.
Blair recently sent me some more pictures of his J-Zeta 350 project and provided some good information for anyone looking at doing this or having to rebuild the front of a 501/502.
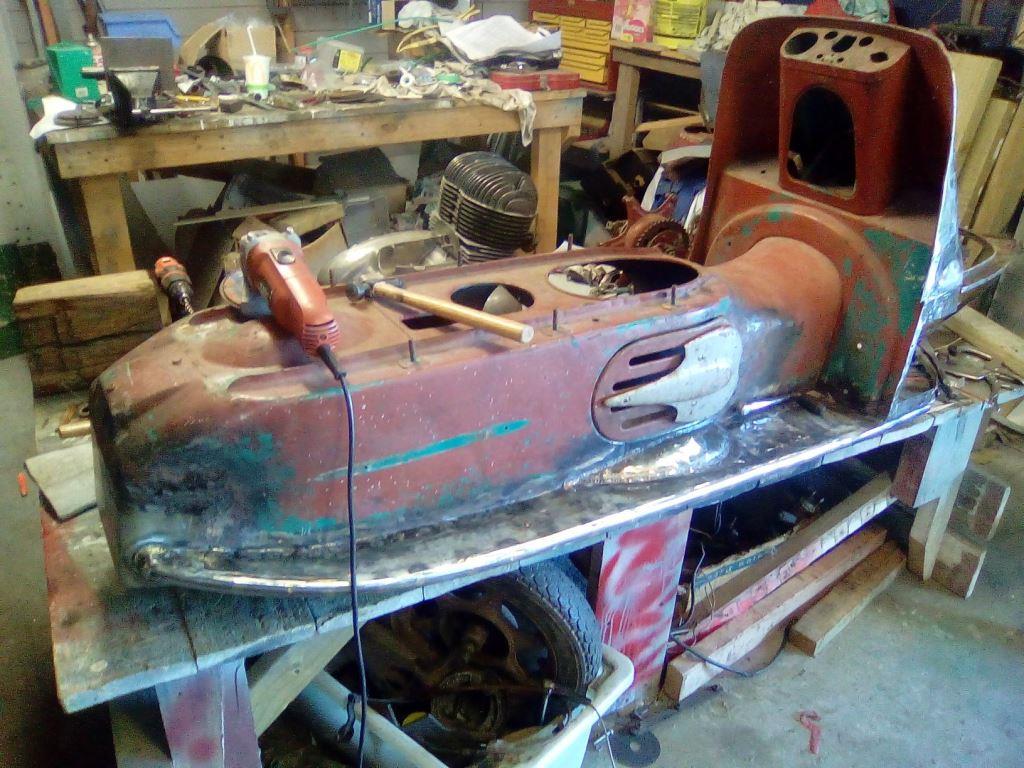
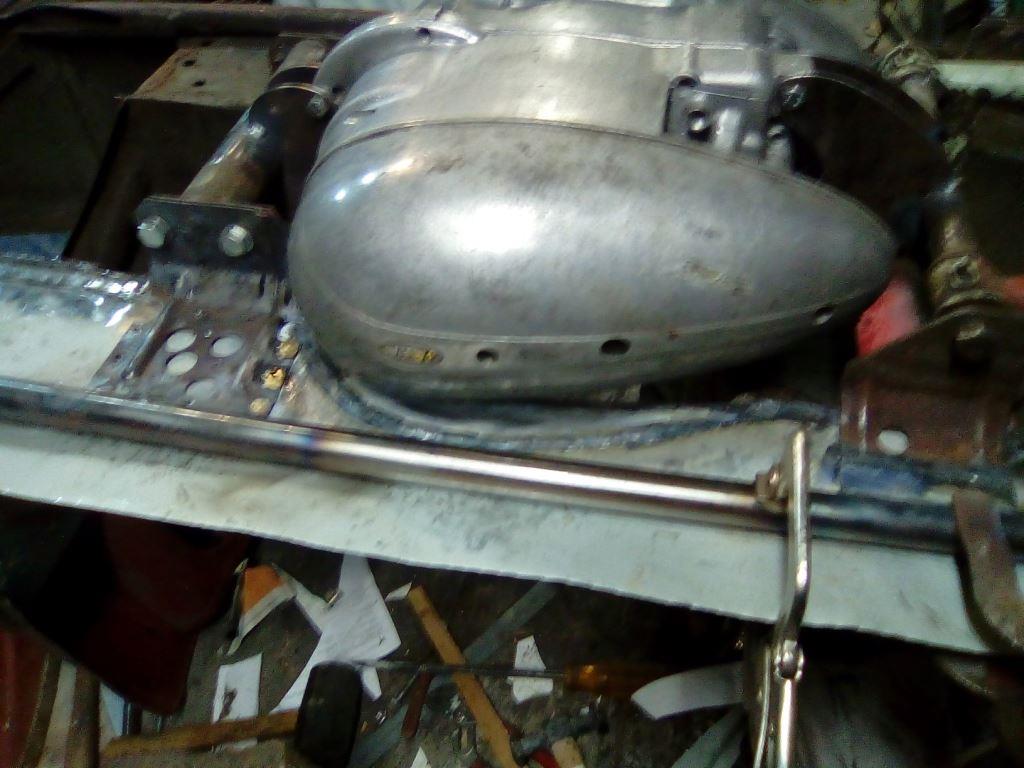
There is nothing too major done as yet really, but at least I have got the engine to fit pretty well and the new foot board and it’s frame tube completed.
Just doing the front now and have to make a tool for the swaging along the edge of the front panels / mudguard.
I have to get the pistons, conrods, kick start gears before taking the engine to an engine builder over in Taupo. He races Jawa 250 and 350’s in the post classic motorcycle racing scene and is the man to see for reinforced gear selectors and extra oil holes, plus a couple of other fixes for weak spots.
I’ve sort of followed the instructions for the 350 J-Zeta modification, on the Scooter Stuff page, but not for the front engine mount. The pictures are not the best but you get the idea.
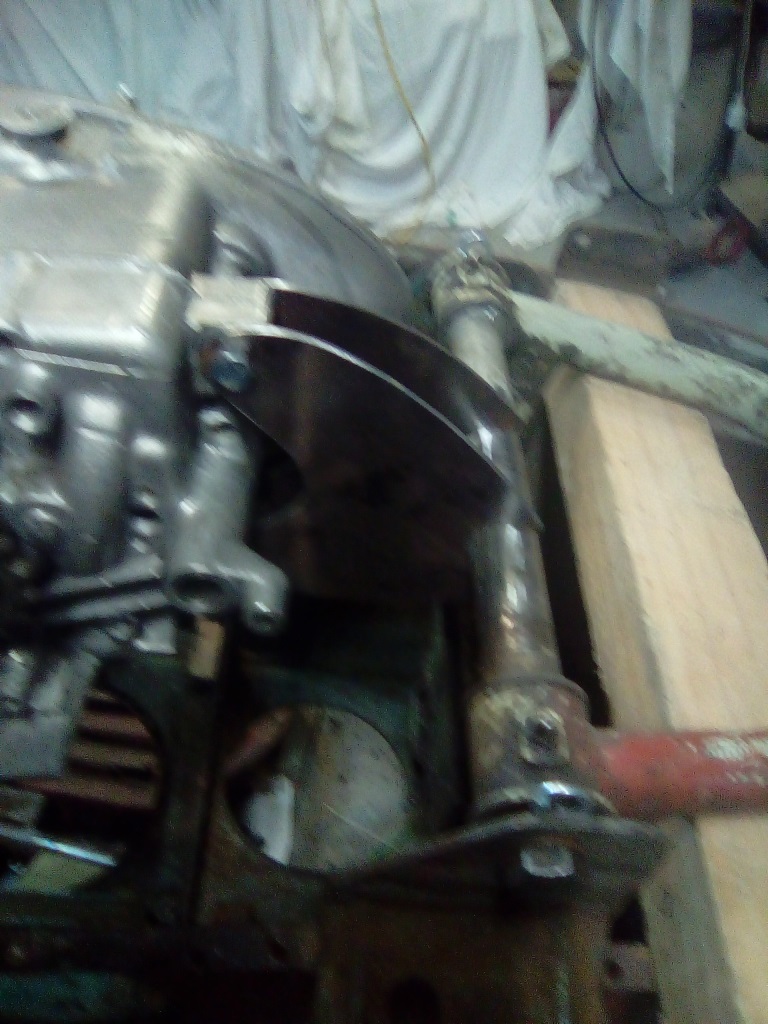
The engine mounts are just tack welded at the moment and I need to get the wheels on and the chain run to be sure they are in right position.
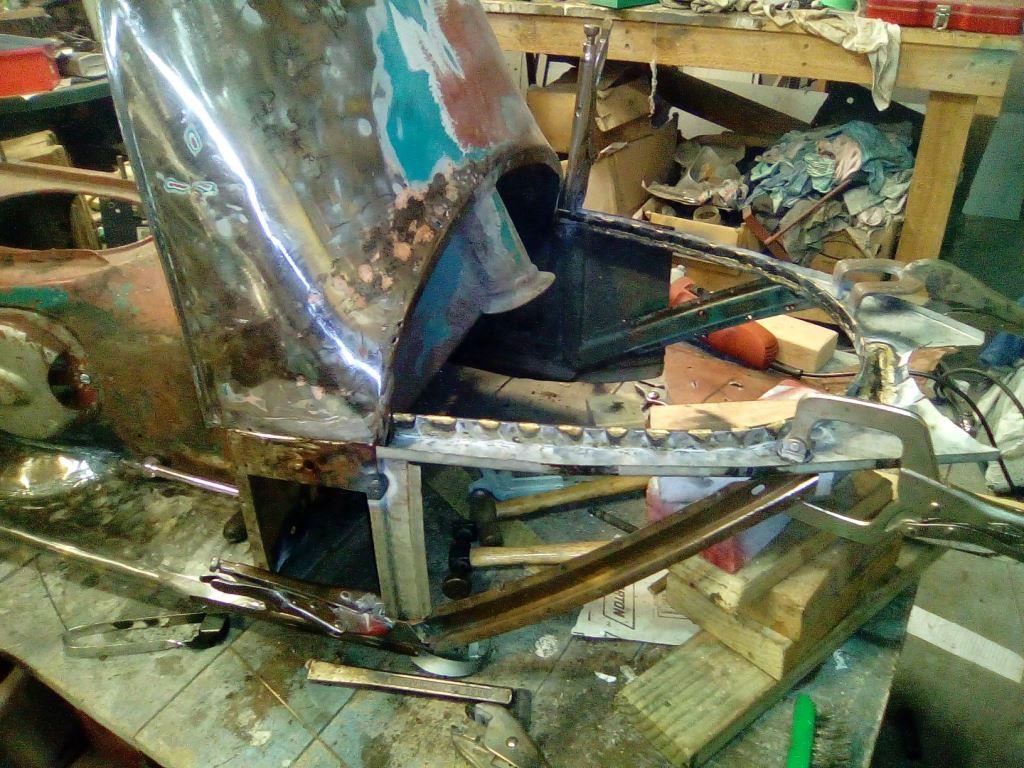
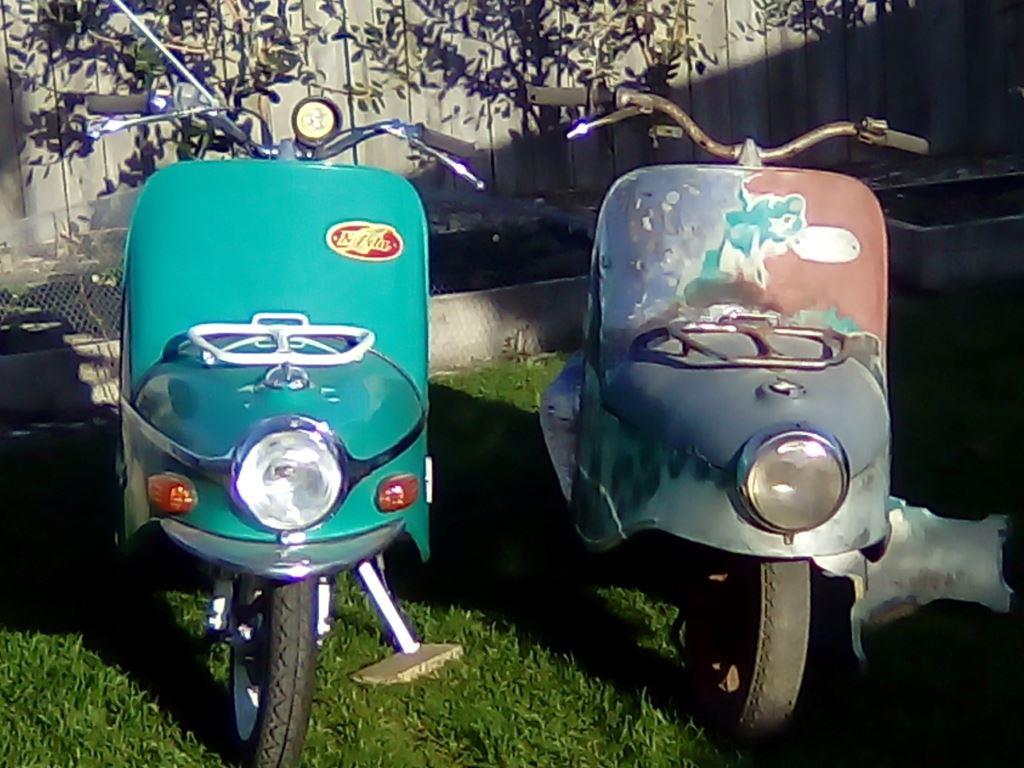
More progress has been made in the last couple of days and I have finished one main front panel. Just started the other side, but am only replacing half of that panel so it will be easier.
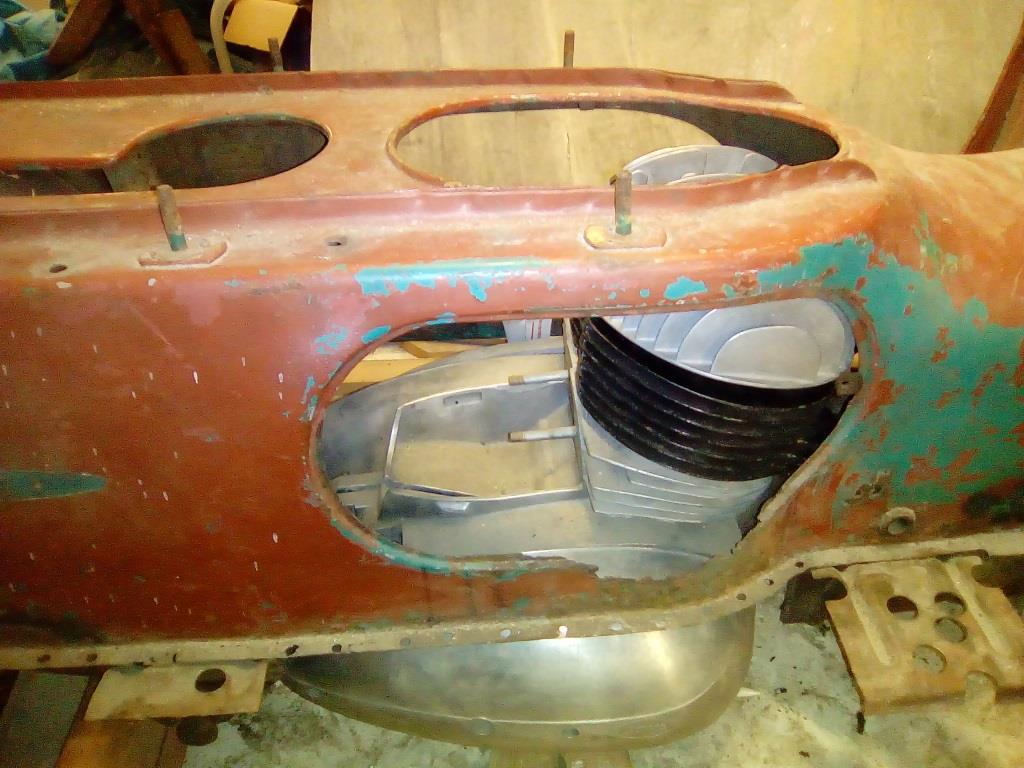
I used the old front frame part under the tank, that goes from leg shield to headlight and loops around, as a template to make another. I used the same panel steel as the whole scoot is made from, which is 20 gauge or .75 mm.
Use the base of the tank as the shape to make the new front loop but just slightly bigger than the tank, to allow for the curve from tank down to the front panels.
That way the tank base edge and top of front panels, where they meet will be a smooth curve and not stepping out to the front panels.
The tank has to fit it well, so I think best to start with the tank base shape.
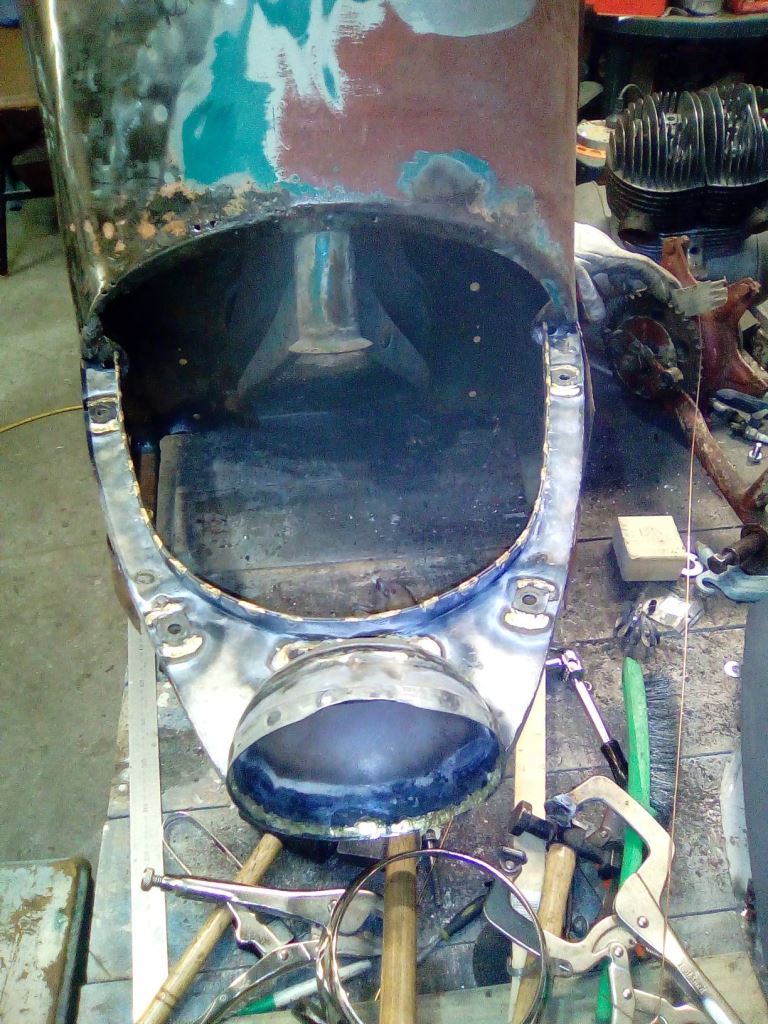
However, because I do not have benders, I made it from 2 pieces and the front loop is reinforced with 3 mm think 12 mm flat bar.
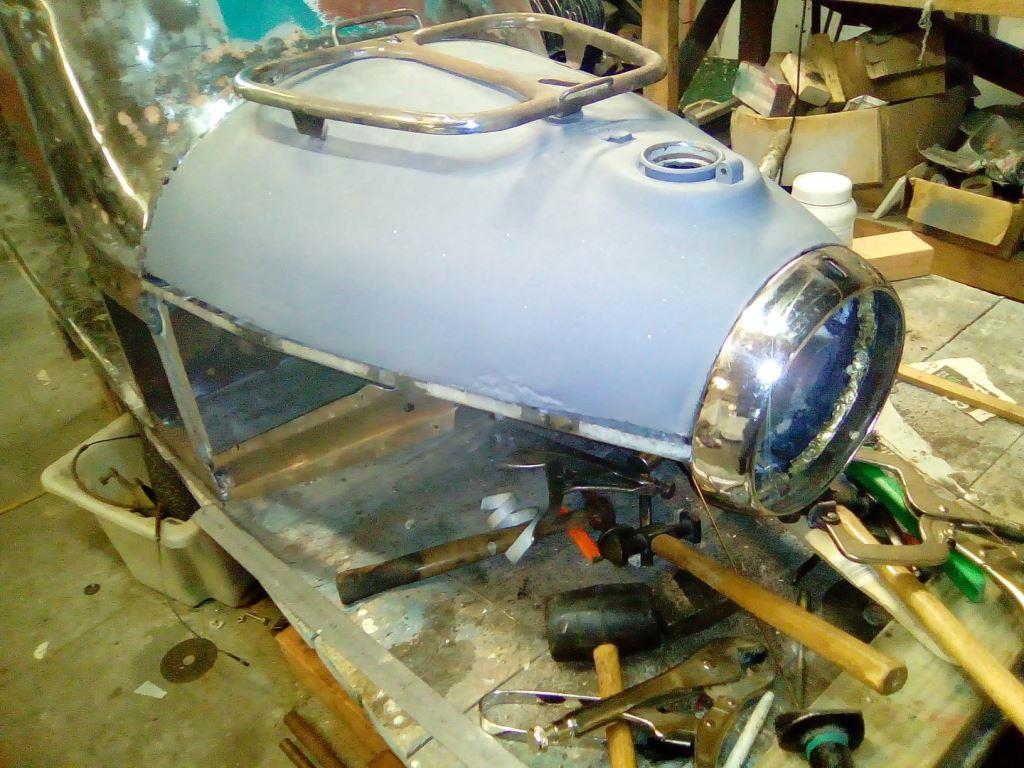
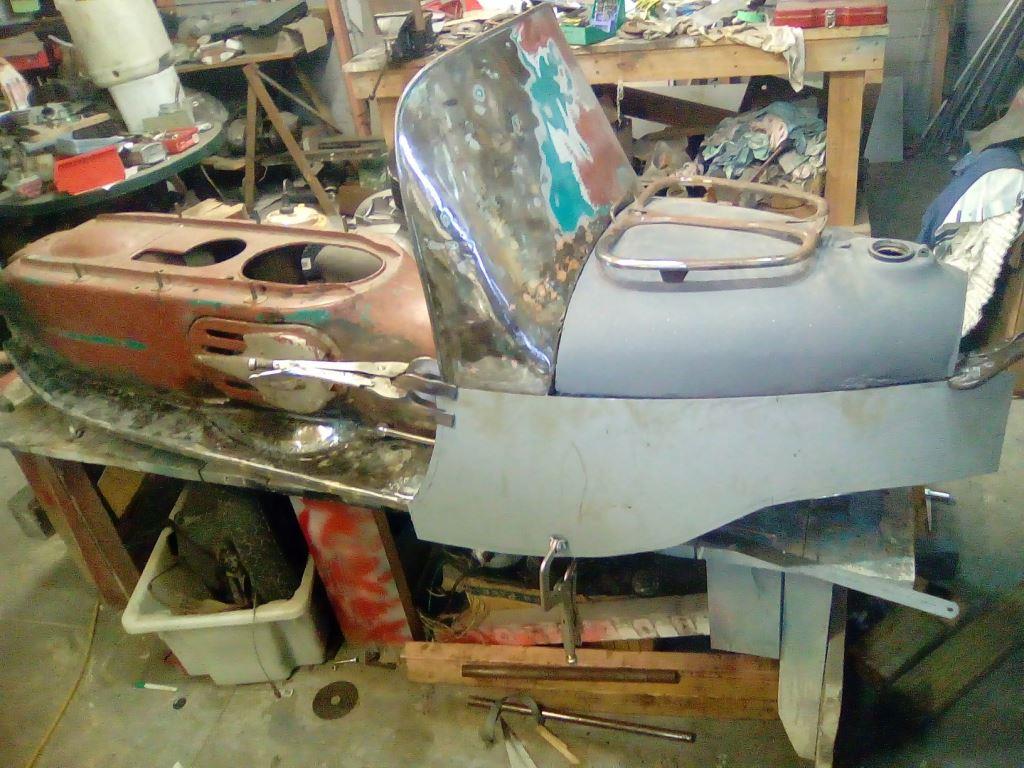
The tank I am using is the top off one tank, and the bottom of another, then welded together as the original was made (edges welded over). The only issue with this is, it makes the tank a few mm narrower, so I constructed the front loop to suit my tank.
The tank fits more flush onto the front body panels as they bend around to the headlight.
I only use Oxy/Acetylene welding, as that is all I have but as this steel is so thin, I brazed it all together. That saved a heap of warpage and made it doable really.
I did make a whole lot of templates from paper and cardboard, but as I have modified that front loop, I had to tailor make the side front panels. I do have foot board templates, both in metal and paper, and have done 2 RHS footboards now.
Making the headlight cup was a major experiment. I used half an old tank cup, and made the rest of the cup from 2 pieces of panel steel. It is far from perfect, but is round-ish, fits nicely and the tank will cover it anyway.
This was the hardest thing for an amateur to make.
We are all amateurs Blair but don’t sell yourself short.
What you have done previously and are doing here now is awesome stuff indeed.
Thank you for supporting the site and supplying good information for everyone.
regards,
Jim
Keep it up and thanks for updating.